Pages

Showing posts with label Cookies. Show all posts

Monday, October 15, 2012

Henry's Baptism

Well, since Henry was born in June, I have had very little time for baking and decorating.  I've been able to do a few small things, but nothing too impressive.

For Henry's Baptism, I was determined to make the cake, and I wanted to make cookies too.  I saw an adorable Dove design by Bridget at Bake at 350.  She is an amazing decorator, and have some wonderful designs (and book that I hope I get for Christmas... wink, wink).

The cookies are a wonderful chocolate recipe, and it's such a simple design I was able to do them after the baby went to bed one night.

Poor lighting... they are white, not the gray/blue they look here.


For the cake, I wanted to do something fall-ish, since I won't get many chances to do another cake this fall.  Really, other than the wording, nothing specifically makes this a Baptism cake.

The flavor is Pumpkin Spice, with Cinnamon Cream Cheese Icing.  I decorated it with gum paste leaves, and got to use some of the techniques I learned in my decorating class last year.


Overall, I am very happy with it.  I can't wait, as Henry grows, to not only have more opportunities to bake, but time as well!

Sunday, April 22, 2012

Bad-Bad Blogger

These are the first cookies I have made since Christmas.  Well, that's a lie, I did make a ton of chocolate hearts to bring to the Pine Street Inn's dinner for the Homeless Women for Valentine's Day, but those weren't decorated, just drizzled in chocolate.

With this pregnancy, I have developed AWFUL carpal tunnel syndrome.  I've had it on and off for years, and usually a few weeks wearing a brace can set me straight, but with the swelling that comes with pregnancy, both hands/wrists can't do much.  So, decorating cookies is hard these days.

But when my little friend was turning 6, and her Mommy asked if I could make her come cookies, I really wanted to. I've baby sat here since she was a baby, and now I can't believe she is 6!  I'm sure my baby will be 6 before I know it, too!!!

My awesome husband even helped me with decorating these. It takes a real man to roll up his sleeves and take a bottle of royal icing in Hot Pink! I took a picture, but he would kill me if I posted it, so that will just be for my enjoyment :-p

These were not what I had imagined when I first came up with the idea, but in the end, I think they came out pretty cute!


Love the swirly N


Nina loves her American Girl, so this is my take on their Logo.
The cupcakes on the right where also wrapped up as favors
for the kids. 


Saturday, December 10, 2011

Yikes!!!

Well, it looks like the last time I actually posted anything was in September.  Sorry, folks!

 I'm 99% sure that everyone reading this knows me in real life, but just in case, the reason for my delayed update is that my husband and I are expecting our first baby, and the first few months were very, very rough on me.  I couldn't really eat, let alone bake, so it's been months since I pulled out my cookie pans.

But feeling a whole lot better these days, and with Christmas right around the corner, I'm here with a couple things I've done.

It's hard to tell, but the little ones have sprinkles on the white parts.

Love the "garland"!

Well, that's all for now.  I should have a few more things to post before Christmas, but I'm still taking it slower these days.

Enjoy!

Monday, September 19, 2011

Spiderman, Spiderman...

...Does whatever a Spider can.


I'll be honest, I had to ask my husband how to finish that.  I'm a girl.  I was raised with my one sister, by my mother... we didn't really do Spiderman. 


Care Bears, Rainbow Bright, My Little Pony, these were things we watched, played with.  So whatever persuaded me to make Spiderman cookies for my friends son, I don't know, but it involved me asking my husband if the round cookie cutter I smashed looked like Spiderman's head.  But I am please with hoe they came out, and I am  sure any little boy will love them!

The eyes were harder than I thought they would be.
By the last one, I think I got it right.


Friday, September 16, 2011

iPod Cookie

One of my co-workers saw my little blog here with some of the cookies, and immediately asked if I would be willing  to do something for her daughter's 7th birthday.  She had this idea of doing an iPod or iPad, since her daughter said that is what she wanted as a gift (and she was obviously not getting one for a 7 year old, lol).


I thought about it a little, thinking about what I would want to do, and how I would do it, and then I agreed.  I was nervous, since it would be the first time I would have to make something look like something specific, and also the first time I would be doing a big cookie.  It had to be big, since I needed room to do details. 


Also, I like the look of the black iPods more than the white ones (though my sister's white iPhone has me considering it...) but a lot of black icing doesn't always taste very good (and it makes your tongue black).  So, I decided to make a chocolate cookies with a little black coloring to darken it, and use the cookie itself as the background color. 


Since the cookie was large (5 x 8 -ish) I was able do make larger buttons and hand decorate them using food color pens.  Obviously, I did the easier ones, but I was real happy how they came out.  I did wish I had a finer tip black one to do some smaller details, but all in all, I think you can tell what they are.  (sorry for the blurry pictures)


My co-worker was thrilled.  I was thrilled she was thrilled.   Her daughter was really excited... and that's what matters.


Oh and my favorite app button:


Monday, September 12, 2011

White Cats

Just a quick picture of some cookies I did over the weekend for my Aunt's birthday.


She has 2 little fur-babies, Duke and Daisy, and I did my best to copy their likeness into cookie form.
Duke has blue eyes, while daisy has greenish yellow ones, and bushy tail.

Happy Birthday, Auntie!

Saturday, August 20, 2011

Birthday cookies

I made a bunch of cookies for my mom to bring to a little girls birthday.  She was turning 5.  I wanted to make something cute and girly.  This is what I came up with.  I'm really happy with them.
Purple and Lime Green theme
The cute labels I ordered!

All Boxed up!


 See this cookie?  I wanted to make a "name plate" cookie that I could use to either write a greeting, like Happy Birthday, or someones name.  And I wanted it to be a little different that just a round or square cutter.

So, I had this big (5 inch) scalloped round cutter (that actually I bought not really looking at the size) and gently "smooshed" it into this football-ish shape.  I think it serves the purpose, and it's now a "custom" cookie cutter!

I know I have been bad about posting this summer, but my kitchen is often too hot to bake.  Next week though, I am doing cupcakes for my sister's birthday, so I will most definitely have another post then (unless there is a cupcake catastrophe... but I doubt it... did I just jinx myself).

See you then!

Wednesday, June 29, 2011

Like a Kid in a Candy Store....

That is how I felt when I walked into Willams-Sonoma this evening.

After I found about their Sale on Bake at 350 this afternoon, I know that I would be making a pilgrimage to the Wrentham Outlets this evening.  And I was not disappointed.

I knew that I wanted to look for new baking sheets, cookie cutters, and decorating items.

Well, this is what I came out with....


Now, what you may notice is there are no cookie sheets (they didn't have the ones I liked).  However... I walked out with this little beauty:


Yup... an Ice Cream Maker! I have wanted one since last year, but didn't know if I wanted a machine like this, or one that attaches to my Kitchen Aid mixer, but when I say it at the outlet... the price was just right.
And that right price was $40.... eeeeeeeek!

As soon as I finish this update, I will be reading the manual and getting the bowl in the freezer to be ready for it's maiden voyage this weekend (check back early next week for that adventure).

I am currently fighting the urge to go back tomorrow and get a couple other things I saw and put back....


And now just to leave you with something cute I did the other day:


Friday, June 10, 2011

Watermelons

Just a quick post with my afternoon's work.  I wanted to make something to bring to a cook out this weekend, and what says summer more than watermelon!

My kitchen was really hot, so I feel like the green and the white was a little thinner than I would have liked, but they came out cute!


I had a cutter that was the watermelon with the bite taken out, but then I also wanted a "whole" melon too.  So I took my circle and just cut it in half with my paring knife.

I had wanted to do a wet-on-wet with a dot of black icing and then use a tooth pick to pull it out to make the point of the seed, but I was so hot in my kitchen I just wanted to finish, so when they were dry, I used my food color pen to add seeds. 


Tuesday, June 7, 2011

School Bus Cookies


My mom is a school bus driver, and one of her good friends (also a driver) is retiring in a couple weeks.  When my mom told me she was organizing the party for her, I knew I wanted to try to do some cookies.

I was a little nervous, since I'm still figuring out what works and what doesn't, and I didn't want them to come out bad.   Plus, until now, I've only decorated about a dozen or less cookies at one time, and for this I needed 30... that's a lot.

So 2 weekends ago, I made the cookies, since it was nice and cool, and I didn't mind having my oven on.  I stacked  them in  Ziploc bags, and put them in the freezer.


Almost 4 cups!

I started by making a whole recipe of just yellow icing.  I was so nervous I would not have enough when I made it and I would need to make another batch and match the color... but it turned out great.  I had the perfect amount.

Then I outlined the whole bus (sans wheels) with yellow, and filled that in.


Then I outlined the wheel.  I did learn that I am not good with free handing circles.  I can follow the curve of the outside great, but some of the wheels would be considered flat in real-life.... good thing this is cookie world!


Once the yellow and black were done, they had to sit overnight to dry. 

While I was waiting, I decided to make the stop signs on wax paper, rather than chance messing up on the buses and being SOL. 


I now know that I need to make them a little thicker next time... when I went to peel these off, I broke half of them... good thing I made extra!   Then while I was packaging them up, most of the signs started cracking, so I had to go back and pop off the signs, and pipe them straight onto the bus... if only I had done that to begin with!

The next day, I added the windows, and other details.  Looking at the buses, I knew something was missing... I googled school bus, and saw that most have a black line running the length of the body... so I piped that in.  I really think it adds some real life details to it.


Finally, I used my food color pen to add the "M2" (her bus number) and the town name.

I had a few extra round cookies left over, and some extra yellow icing, so I made these too, just for fun.  I did the yellow, and added the black dots using a wet-on-wet method, then piped the "M2" the next day,


Wrapped up with cut little yellows bows!


I am very proud of these.  They are by no means perfect, but I think they are cute and fun and perfect for a celebration!

Sunday, May 15, 2011

Cake Decorating Class

So, as I may have mentioned in my first entry, I signed up for a cake decorating class.  Now, I did take one last spring, but at the same time, we were busy packing, moving, and unpacking that I don't feel like I have it 100%.  Since then, they also changed their classes, so while I'm technically taking the basics class again, we're doing new things.  So far, it's been mostly skills I know/feel comfortable with, so it's been a good chance to practice.

While I don't have any step by steps for you (it would be awkward to stop in the middle of class every 10 minutes to take a picture of what I have done), I did take a picture...OK, several... of the final product.


Isn't it cute! 


Here's a shot so you can see the borders. 

Next week is cupcakes and flowers.

Oh... and if a cake wasn't enough, this morning I did a practice run of the School Bus cookies I'll be making for a woman who is retiring as a (you guessed it!) School Bus Driver! 


I tried a few different things, so I know what I want to do and don't want to do for the final product (which I still have a month for), but I was glad I got a few extra cookies in the freezer. 

So, I've been busy in the kitchen.... Stay tuned!

Sunday, April 17, 2011

Cookies!

Well after stumbling across my new favorite blog Bake at 350 about a week ago, I have been DYING to try my hand at using Royal Icing for cookie decorating.  Luckily, I do have some experience with decorating, so I felt semi-confident that I would not fail miserably.  I have never made cookies that involved rolling them out, I've always been a drop cookie type girl. 

First things first:  None of the recipes I used are my own.  I used both recipes from Bake at 350, This cookie recipe (scroll down), and this Royal Icing recipe (and lots of good tips).  I also watched countless Vlogs (Video blogs... I had never heard that term before, clearly I am new at  this) on University of Cookie, like these!

I wouldn't even claim to try to show technique, so please take a peep at the links above for how-tos and what not... this is just my adventures in cookie making!

(Just one more disclaimer:  This is the first time I have even had my own blog, so I am still figuring out how to do it... please excuse any weird formatting, or simple setup until I get it looking as pretty as some of the other ones out there!)

OK, onto the good stuff...

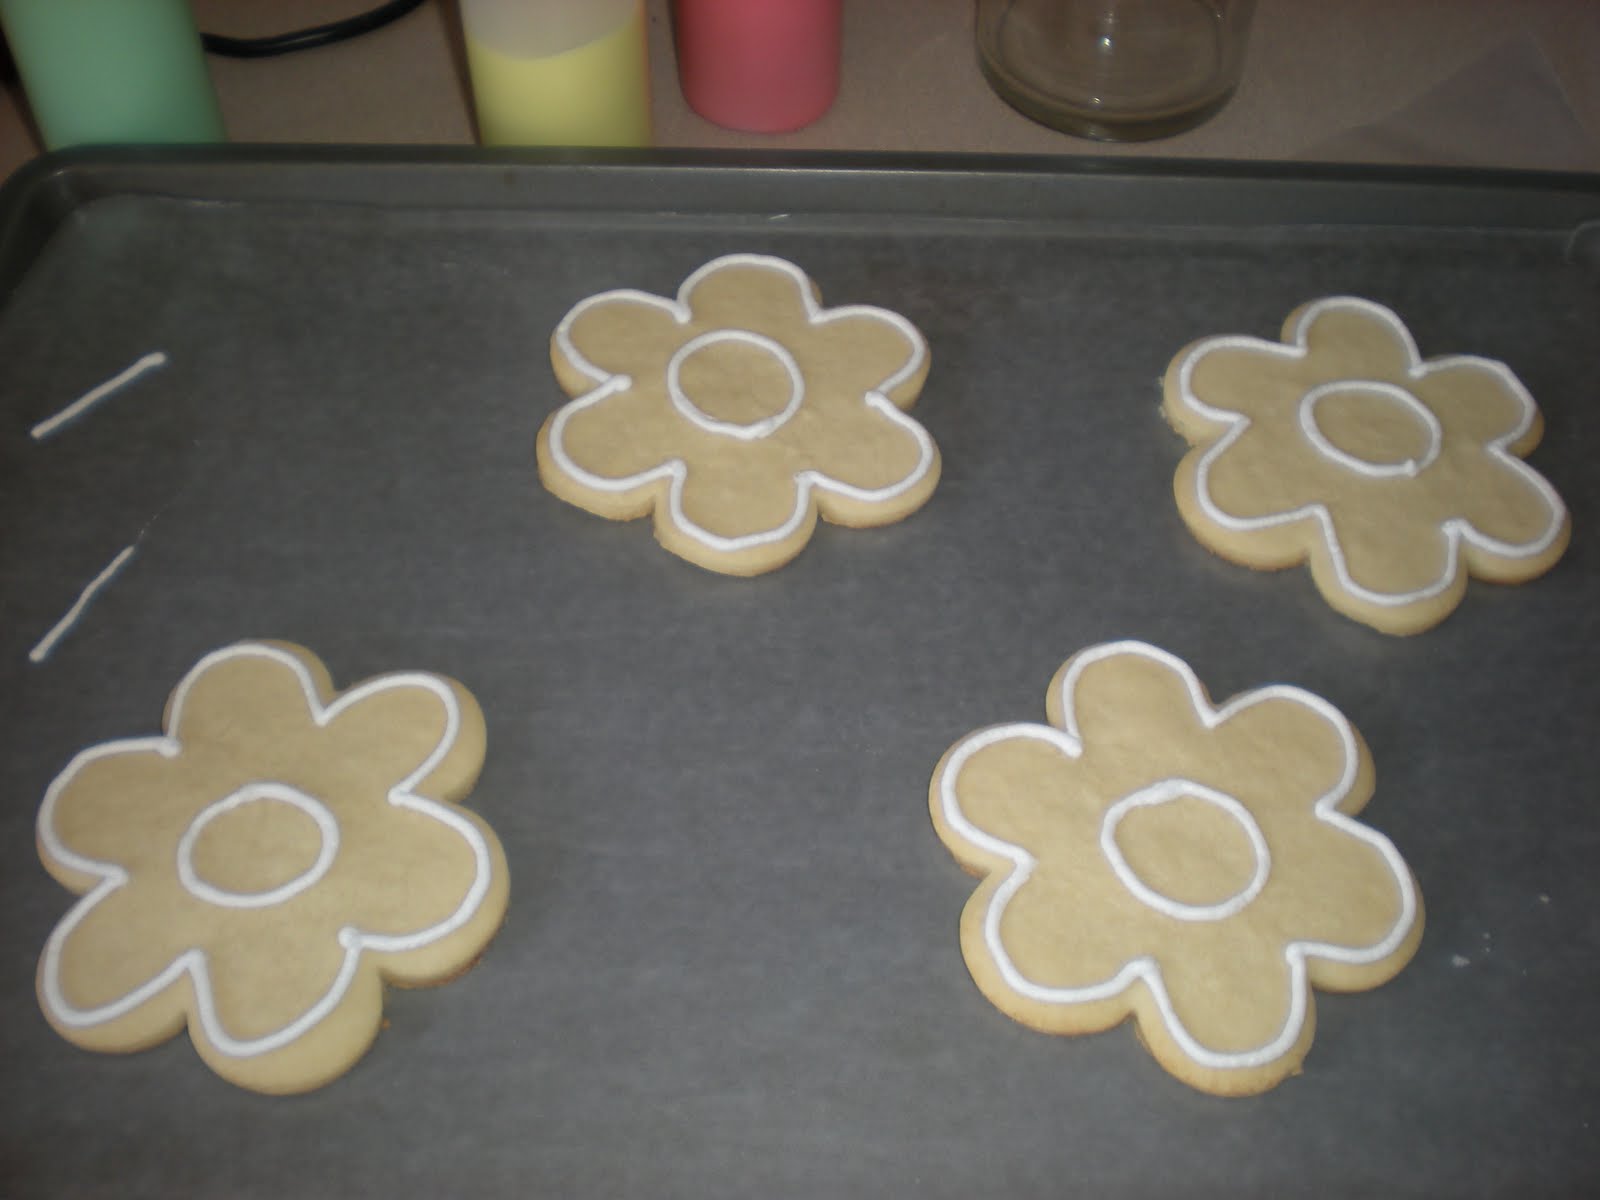
My beautiful stand mixer, which I got last Christmas


cut cut cut

My hubby took over the camera for some "action" shots. 


Outlining...need to practice that some more.  Also may have over beaten the icing,
it was a little "drier" than I expected.


After looking at all the awesome Ideas at Bake At 350, I had to try them!
Love the 3rd heart from the left.

Showed my sister how to do this, and these look awesome...
Love how they make little hearts!

All in a days work!


So I think today was an awesome first shot.  Definitely some things to work on (piping, consistency) but I learned a lot.

Three things I got out of this:
One, There are ENDLESS possibilities.  Two, It's a bit messy, but I think once I get the hang of what needs to be done, I can make it more orderly.  And most importantly I'm going to need more counter space... because this was a lot of fun!

I got to use some of the extra icing on some wax paper to play with some ideas I have for later on... stay tuned over the next few months!